Roles management allows administrators to precisely adjust the permissions that each user on the account has. The roles manager is very flexible, but it can be hard to understand at first. Let’s break it down.
For more detail on specific permissions, see our Permissions Overview article.
A role is a collection of permissions. It is a handy way to quickly assign a group of permissions to a user. So rather than assigning dozens of permissions to each user you can group the permissions and assign the role instead.
To get started, think of all the roles and tasks for the people in your organization, such as.
- IT / Administration
- Loan Officers
- Processors
- Underwriters
- Management
Role manager allows you to assign custom permissions to each of these employee categories. Users can be members of multiple roles if so desired.
FAQ on Roles
- Why can I only see my own loans and not other people’s?
- Your permission for “View All Normal files” isn’t set for the role you are assigned. To fix this you need to have your role adjusted or the permission added to your existing role.
- Why can’t I upload documents to IncomeXpert PLUS?
- Your permission for “Upload documents for IncomeXpert PLUS” isn’t set for the role you are assigned. To fix this you need to have your role adjusted or the permission added to your existing role.
- Why can’t I add more users to the account?
- Your permission for “Add Users” isn’t set for the role you are assigned. To fix this you need to have your role adjusted or the permission added to your existing role.
- What is the “Lock for underwriting” permission?
- If you have been assigned the “Lock for underwriting” permission, it allows you to keep other users who do not have this permission from editing the IncomeXpert loan. Please note that any user with this permission can edit the loan – it is not an exclusive lock to the user who originally locked the loan.
How to get to Role Manager
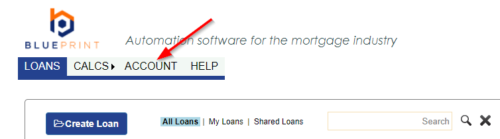
Login to Blueprint and go to the ACCOUNT page.
If you do not see the ACCOUNT option and you are a member of a team then please reach out to your company’s administrator for your Blueprint account. Note: Blueprint Customer Support is unable to grant enhanced permissions to users.
If you are the only person on the Blueprint account, please reach out to the Blueprint Customer Support team.
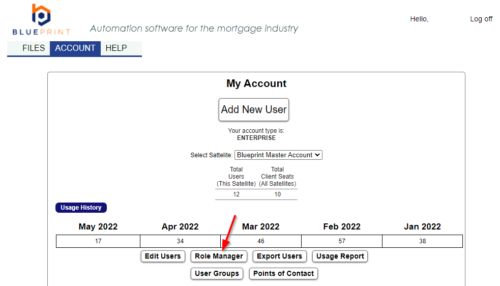
Once on the ACCOUNT page, click on Role Manager.
Assigning Permissions
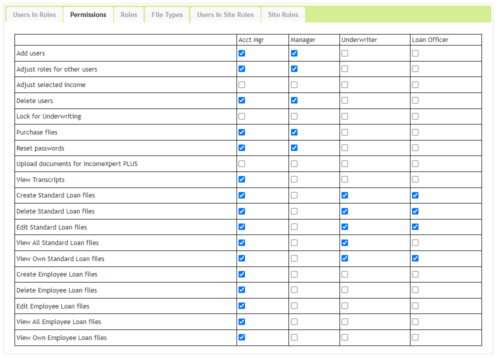
You are now ready to assign permissions to each role. The names of the roles are at the top of each column, and the permissions for each role can be selected underneath. Go through the table and check the boxes that fit the needs and function of each role.
See our Permissions Overview article for more detail on what each permission does.
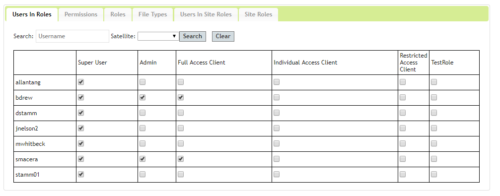
Assign Roles To Users
The last step is to assign each user in your organization to a role. Note how you can assign multiple roles to each user.
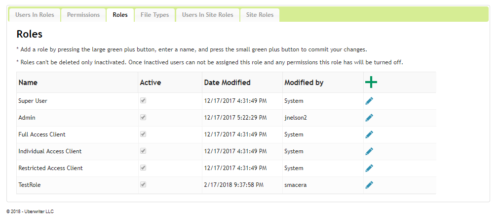
Creating Roles
You can rename the default roles to fit your organization, or deactivate roles if they don’t fit your needs. NOTE: once a role is created, it can not be deleted. If you don’t want a role any longer simply deactivate it on the Roles tab.