
Logging into IncomeXpert
From your browser go to https://income.getblueprint.io/Account/Login.aspx
Enter your user name and password. After a successful login you will be routed to the Loans page.
Creating the Loan File
From the Loan menu, click the Create Loan button. A new loan will be created and the screen will progress to the Borrower page. Upon creating a loan your account is debited for the cost of one loan. Next you will need to add borrower and the loan number.
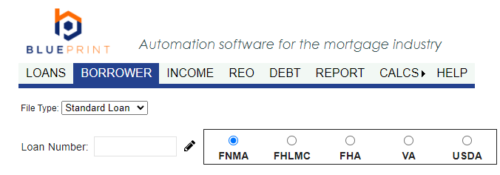
Adding Loan Number & Borrowers
To update the Loan Number, click the pencil icon next to the Loan Number box.
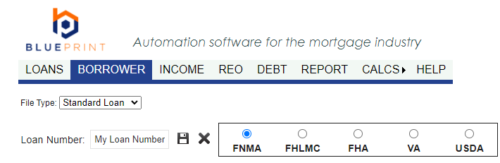
You can now edit the Loan Number. When you are done, press the save icon next to the Loan Number box.
Next you will need to add borrower’s to the loan file. By default one borrower is always present on the file. Borrower One can not be deleted, but it can be renamed. You can keep the name of Borrower One anonymous if you desire, you do not need to use actual borrower names.
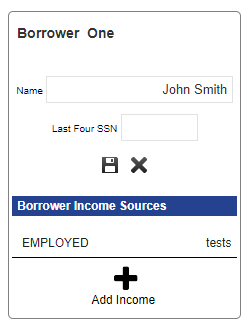
To edit the borrower name, click the pencil icon next to the borrower name.
Edit the borrower name and click the save icon. You do not need to populate the last 4 digits of the SSN to use IncomeXpert. The SSN is only required if using IncomeXpert PLUS.
Adding Additional Borrowers
IncomeXpert supports up to 4 borrowers on a loan file. To add borrowers 2, 3, or 4 to the loan, click the PLUS icon labeled Add Borrower. Name the borrower, and click the save icon.
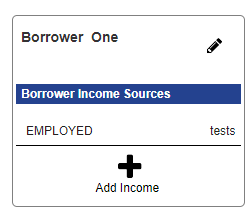
Adding Income to Borrowers
Now that you have all of the borrowers on the loan, you can add the income types to the borrowers. To add income, click the PLUS icon below the borrower. A dropdown list will appear with the supported income types for IncomeXpert.
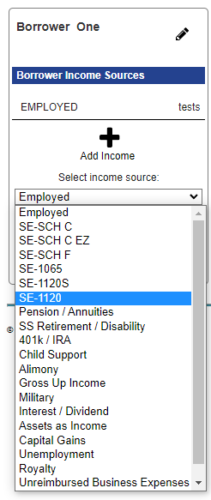
Select the income type you want to add, and name the income type using the provided text box. Last, click Insert Income Source to add the income to the borrower.
Once you have added all of the income types to the borrowers, you can move to the INCOME page to calculate each income type you created. Refer to the specific help articles on the individual income types for additional support.